Reverse concatenation
Note
Data availability for this tutorial: a small concatenated alignment with the corresponding partition files is available here.
Here we’ll reverse a concatenated file into its original alignment files. TriFusion offers two main ways of doing this, but both require an input alignment file with partitions defined. As you will see, reverse concatenation is essentially the split of a single alignment file into multiple output alignments based on a given partitions file. These partitions can be anything you want, provided that they have the same sequence type (nucleotide or protein).
Note
At the end of this tutorial we’ll also see how secondary operations work when reversing a concatenated file.
Manual selection from a partition file
Note
With this method, more input files may be loaded in TriFusion besides the file that you wish to reverse the concatenation.
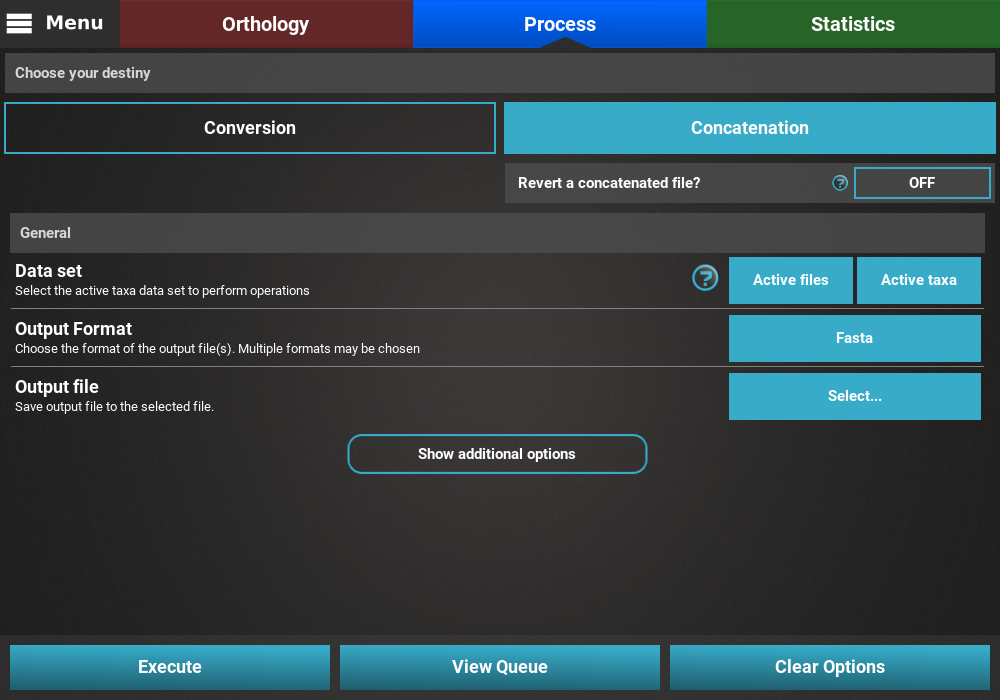
To open the reverse concatenation settings, click in the Concatenation
button in the Process screen, which will reveal the option to
Revert a concatenated file.
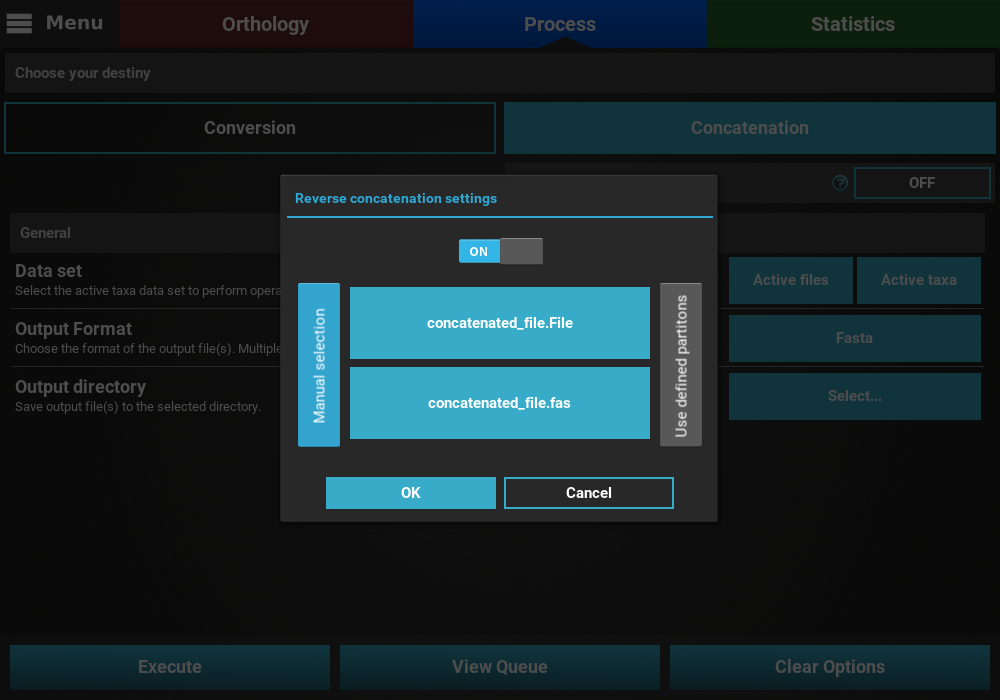
In the reverse concatenation settings dialog, turn the switch
ON to active the reverse concatenation operation. The
Manual selection method is already expanded by default and asks the
user for the partition file and the input file that will be reversed.
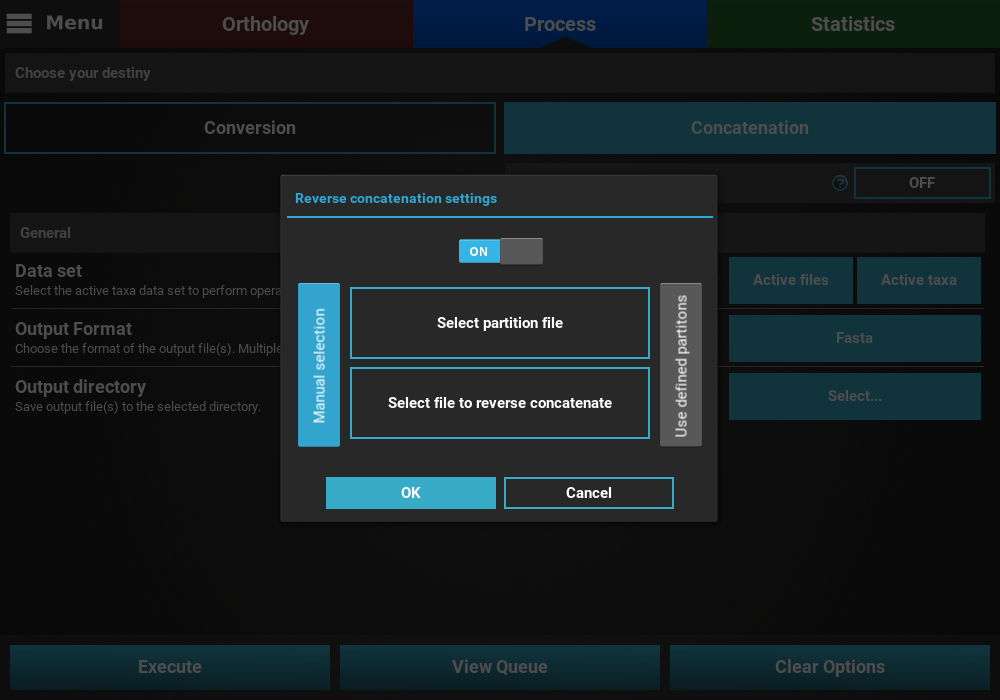
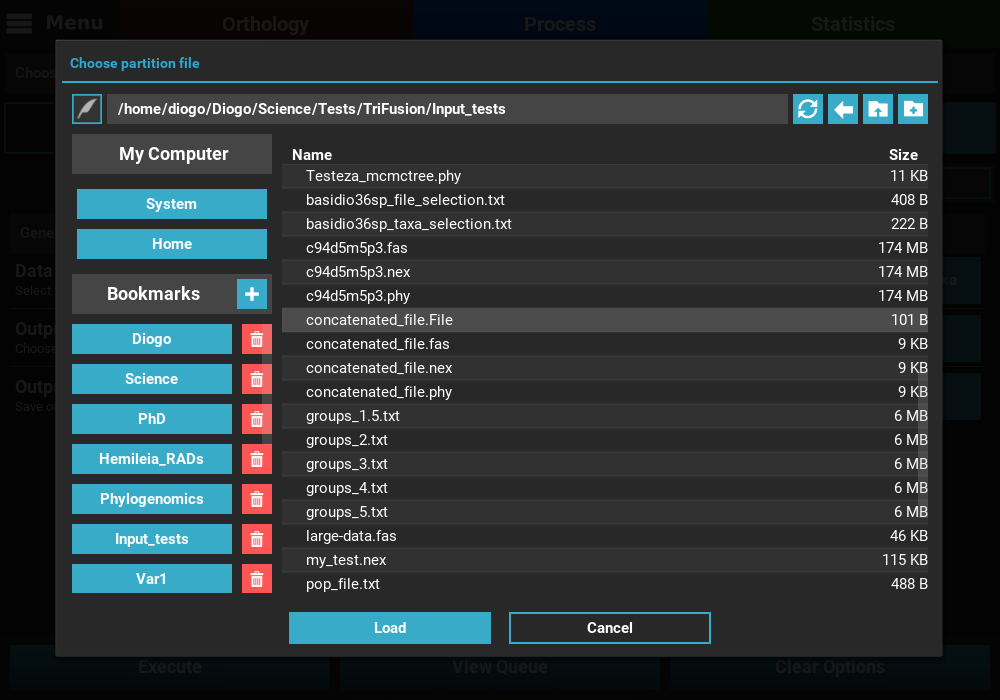
First, click in the Select partition file button, and navigate
the file browser until you find the partition file that corresponds to the
input alignment. In our case, it is the file concatenated_file.File.
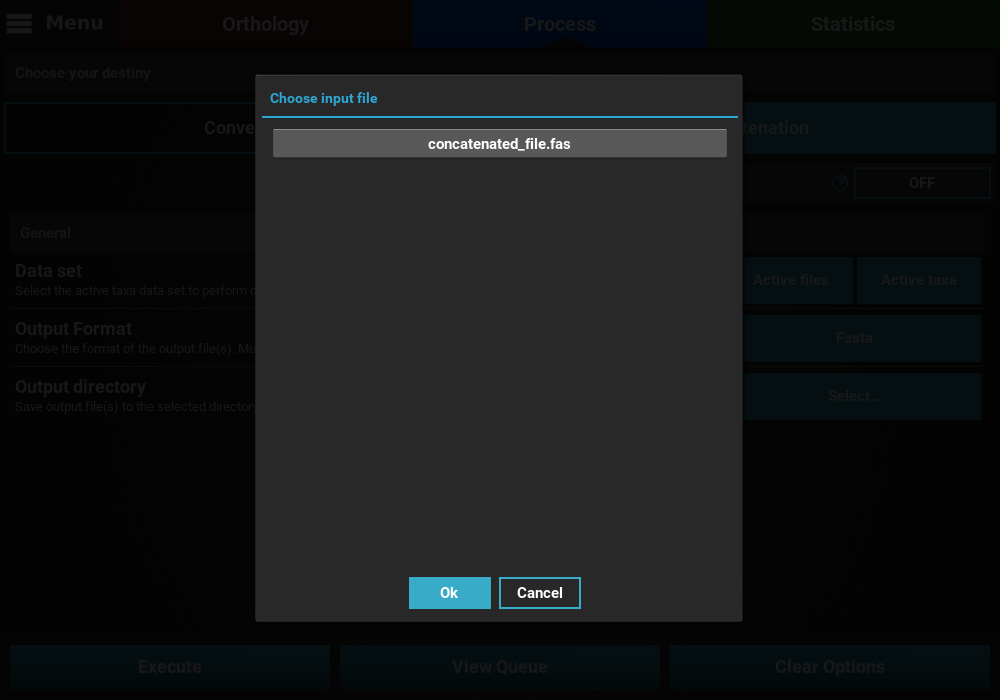
Then, click the Select file to reverse concatenate button to choose
the concatenated file that will be reversed. This will open a
popup listing all input files currently loaded into TriFusion. In our
case, the list contains only the single concatenated file. Click on the
alignment button to select it.
After setting these two requirements, the reverse concatenation settings dialog should look something like this.
When you click ‘OK’ TriFusion will check if the partition file is compliant with the concatenated file. If it detects issues, such as missing partitions or the defined partitions being out of range from the alignment file, an informative error will popup. However, if all checks out the Revert a concatenated file? button will now say Active.

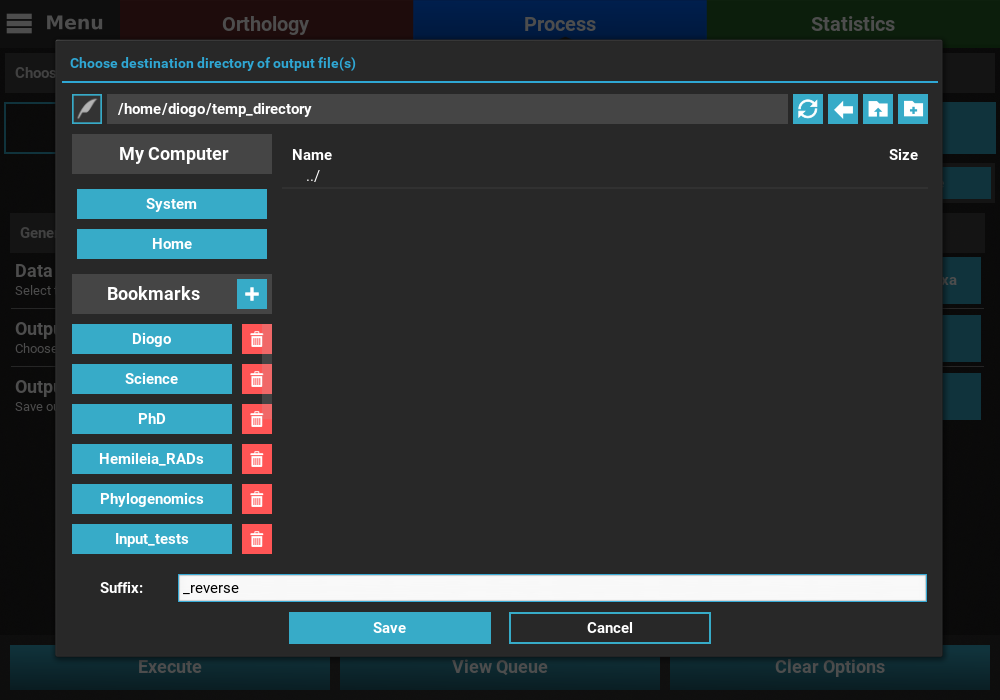
Now select an output directory where the individual alignments will be generated by clicking the ‘Select’ button of the Output directory option. Note that the output files will be named according to the names of the defined partitions. Optionally, you may specify a suffix that will be appended to the end of every output file, but before the output format extension. Here we will specify the “reverse” suffix.
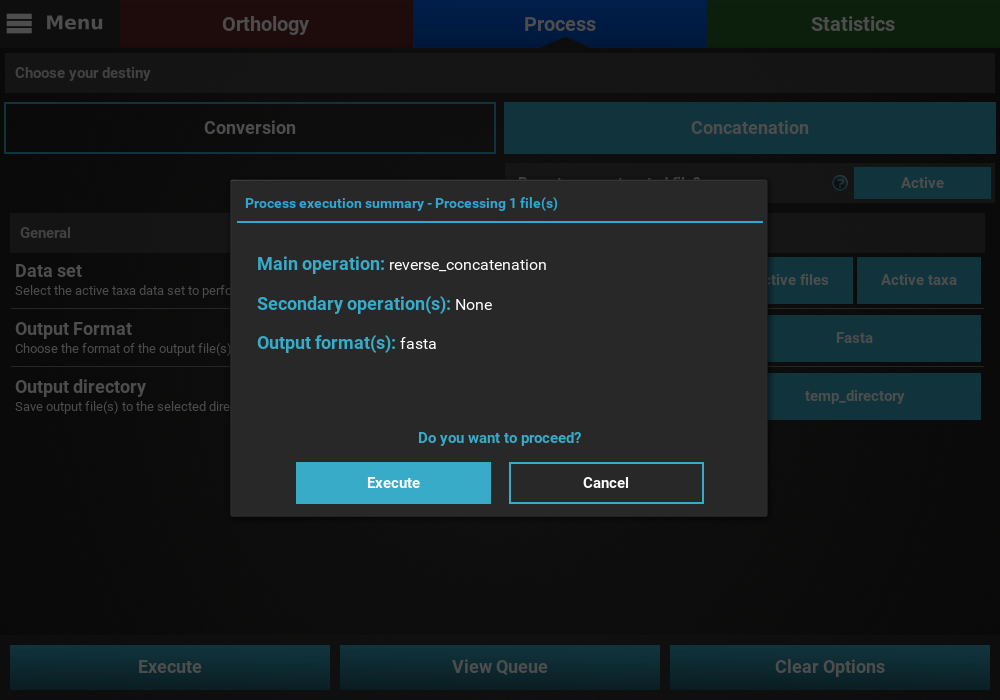
Finally, click the Execute button to display the execution summary
dialog, which will inform that a reverse concatenation operation will
be performed, with no additional secondary operations and the output
files will be in Fasta format. To begin the reverse concatenation,
click the Execute button.
Reverse using partitions defined in TriFusion
This method uses the partitions defined within TriFusion to reverse concatenate a single input alignment file. Therefore, if you use this method, make sure only one alignment is loaded. There are several ways to import or create partitions in TriFusion (check the User Guide, Section 4.3.2 Partitions tab). For instance, partitions may already be defined in a Nexus input file, in which case TriFusion will automatically detect them and set them in the Partitions tab of the side panel.
In our case the input alignment is in Fasta format, so we’ll have to set
the partitions first in a different way. Navigate to
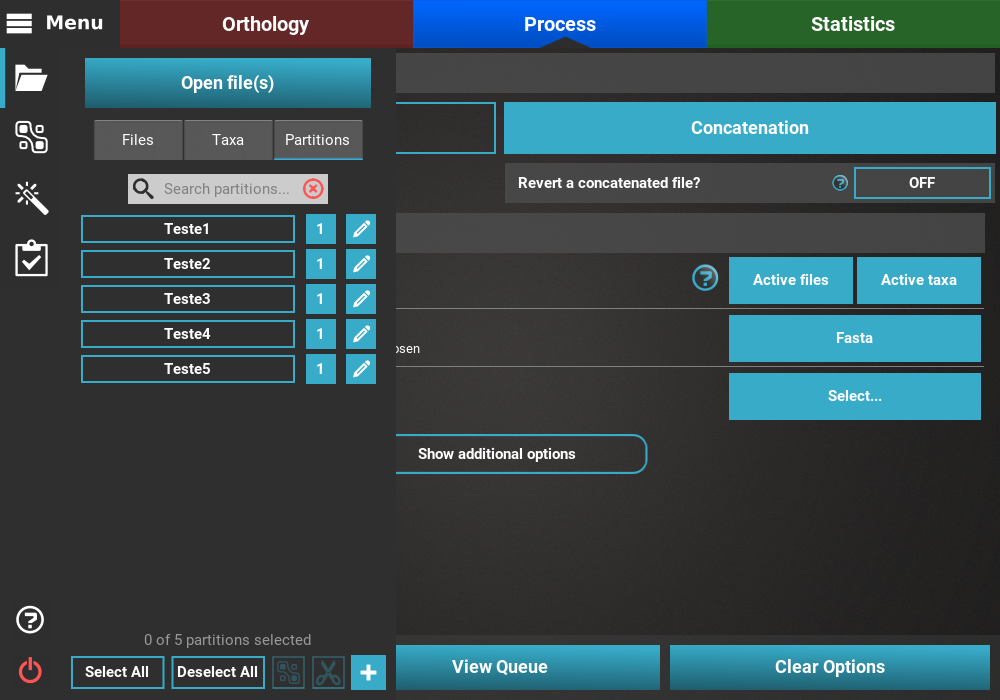
Menu > Open/View Data and click in the Partitions tab. You can see
that one partition is already present, since TriFusion automatically
attributes a partition for every input alignment file.
Since we already have a partition file for this concatenated alignment,
we do not need to create all partitions by hand. To import a partition
scheme from a file, click the + button at the bottom of the panel.
In the file browser, navigate to the directory containing the partition file
and load it. In our case, the partition file is named concatenated_file.File.

After loading the appropriate partition file, the list in the Partitions tab will update with the new partitions.
At this point you can still edit the partitions any way you want (change
ranges, merge partitions, change names, etc.). When you are ready to select
the reverse concatenation settings, click in the Concatenation button
in the Process screen to reveal the option to Revert a concatenated file.
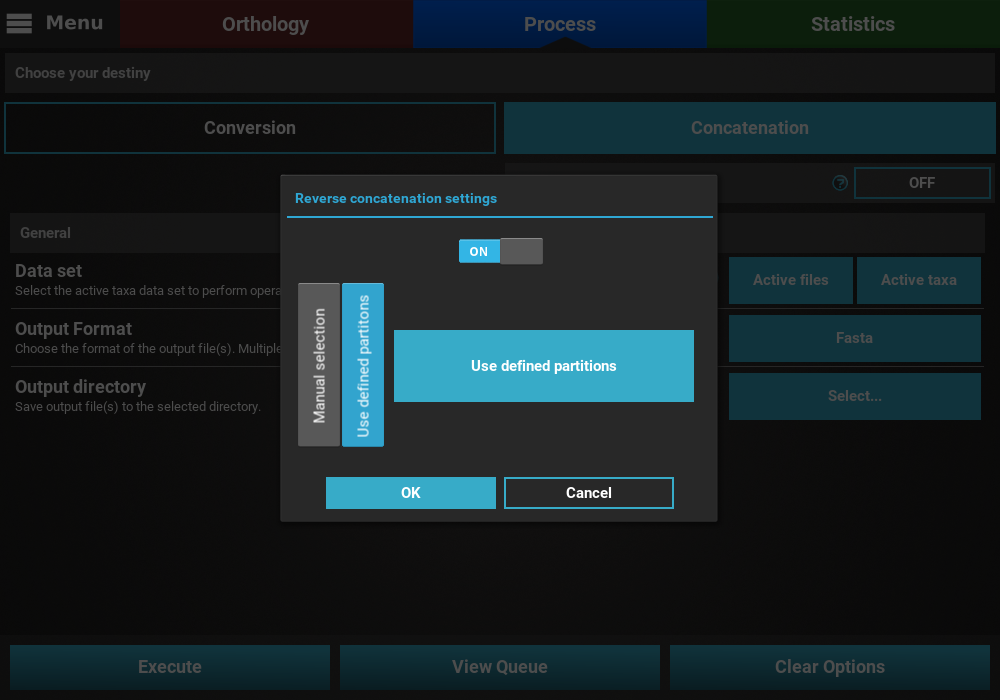
In the reverse concatenation settings dialog, click the
Use defined partitions tab, and then activate the operation by clicking the
Use defined partitions button.
After clicking OK, make sure the Revert a concatenated file button has
changed to Active.
Now select an output directory where the individual alignments will be
generated by clicking the Select button of the Output directory
option. Note that the output files will be named according to the names of
the defined partitions. Optionally, you may specify a suffix that will be
appended to the end of every output file, but before the output format
extension. Here we will specify the “reverse” suffix.
Finally, click the Execute button to display the execution summary
dialog, which will inform that a reverse concatenation operation will be
performed, with no additional secondary operations and the output
files will be in Fasta format. To begin the reverse concatenation,
click the Execute button.
Secondary operations after reversing a concatenated file
Secondary operations can also be performed in the same run when reversing a concatenated file. However, note that ALL secondary operations are performed after the reverse concatenation. This means that they will be applied to a set of individual alignments files and not to the initial concatenated file (see How main and secondary operations interact).